

How To Install Easy Touch On Iphone
Use AssistiveTouch on your iPhone, iPad, or iPod touch
You can use AssistiveTouch to adjust volume, lock your screen, employ multi-finger gestures, restart your device, or replace pressing buttons with just a tap.
Plough on AssistiveTouch
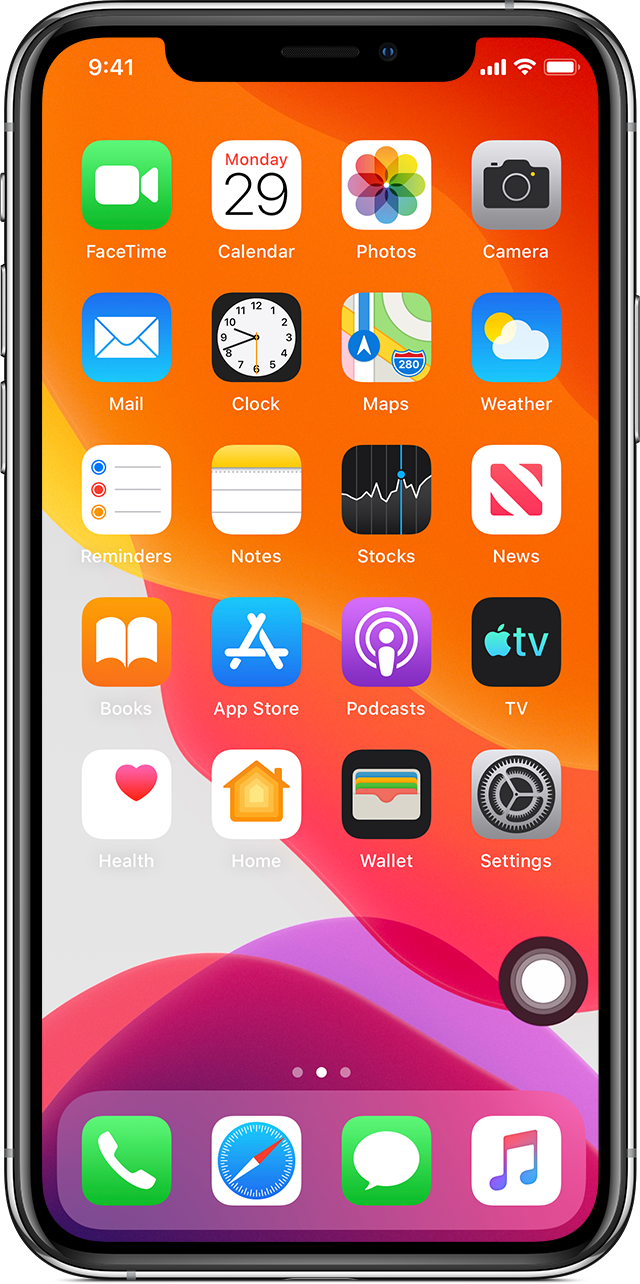
When you plow on AssistiveTouch, you'll see a button appear onscreen. You can elevate it to whatever edge of the screen, where it will stay until y'all motility it again. By default, tapping the push once will open the AssistiveTouch card. Borer once anywhere outside of the menu will close information technology.
In that location are a few means to plow on AssistiveTouch:
- Go to Settings > Accessibility > Touch on, and then select AssistiveTouch to turn information technology on.
- Use "Hey Siri" to say, "Turn on AssistiveTouch."
- Go to Settings > Accessibility > Accessibility Shortcut and turn on AssistiveTouch.
AssistiveTouch can also be added to the Accessibility Shortcut for quick admission from Control Heart, or yous can use the Side or Home push button.
Utilize AssistiveTouch instead of gestures
Access menus and controls that require onscreen gestures like:
- Control Center
- Notification Center
- Spotlight
- Home
- App Switcher
- Speak Screen
Use AssistiveTouch instead of pressing buttons
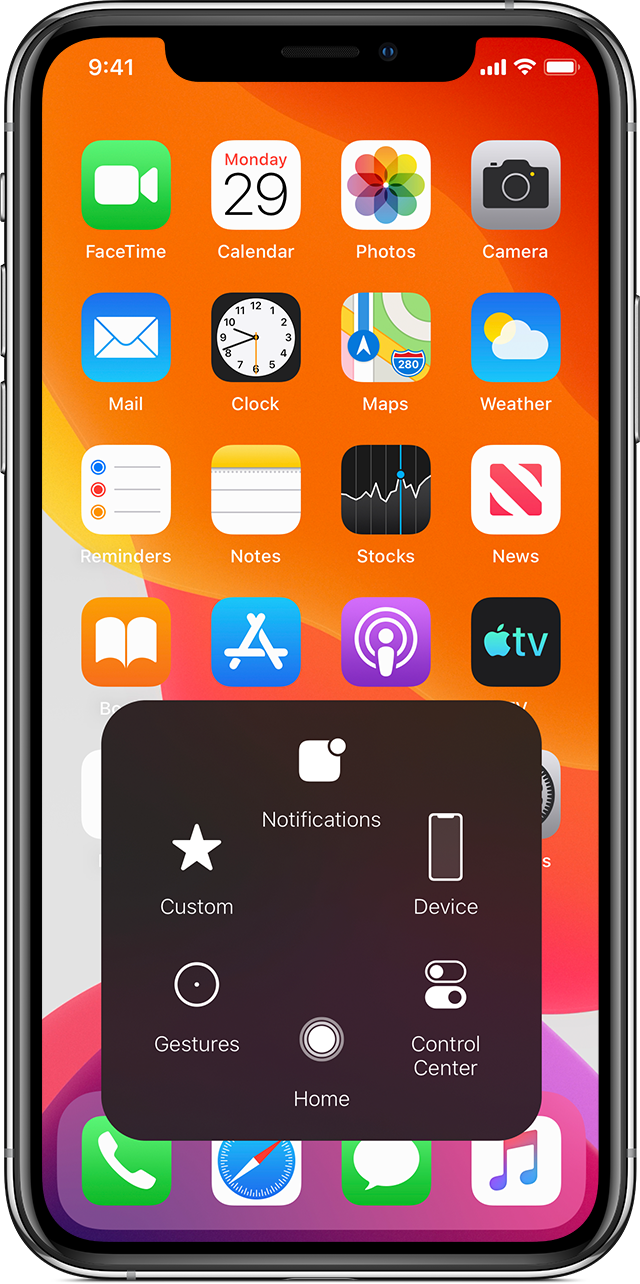
The bill of fare gives you admission to functions that would otherwise be controlled by pressing physical buttons or moving the device. Here's some of what you tin exercise:
- Actuate the Accessibility Shortcut
- Lock the screen
- Adjust the volume
- Summon Siri
- Restart the device
- Capture a screenshot
- Simulate shaking the device
Use AssistiveTouch for multi-finger gestures
- From the AssistiveTouch menu, select Device > More than, then select Gestures.
- Cull between ii, 3, 4, or five finger input.
Subsequently making your pick, multiple dots appear on the screen indicating where the virtual fingertips are touching the screen. Moving one finger around the screen or performing taps volition control all virtual fingertips at the same fourth dimension. The virtual fingertips will automatically go abroad after a few moments of inactivity.
Customize the AssistiveTouch bill of fare
To change the gild, number, and contents of the buttons in the menu:
- Go to Settings > Accessibility > Touch, then select AssistiveTouch.
- Select Customize Top Level Menu, then tap an icon to reassign a different function to its position.
- Use the + and - buttons to change the number of buttons that announced in the menu.
Use the Reset button to erase your changes and restore the default menu settings.
Utilise custom actions
To assign an AssistiveTouch function to a single-tap, double-tap, or long press of the button:
- Become to Settings > Accessibility > Touch, then select AssistiveTouch.
- Nether the Custom Actions heading, choose Single-Tap, Double-Tap, or Long Press.
- Choose an activity from the list to assign to the gesture.
- Use the AssistiveTouch button to go back to Settings.
You can adjust the amount of time the deportment can perform a double-tap, or how long the button must exist held for a long press.
Create new gestures
You lot can record custom taps and swipes using the touchscreen and save them to the AssistiveTouch card.
To create a new gesture:
- Go to Settings > Accessibility and select Touch.
- Select AssistiveTouch, then Create New Gesture.
- Recording starts automatically when yous touch the ; so you can tap or swipe whenever you're prepare.
- When you're finished, tap Stop.
To review your recorded gesture, press Play. If you lot want to re-tape your gesture, tap Record. Printing Salve to proper noun your gesture when y'all're ready.
If you're unable to perform a multi-finger gesture by using multiple fingers at the same time, you lot can record individual movements, and they'll exist grouped together. For example, draw two horizontal dots on the elevation half of the screen, and a half circle on the bottom of the screen, then press Terminate. When you lot printing play, all dots and lines volition play at once.
Connect a pointer device with AssistiveTouch
Larn more
Information almost products non manufactured by Apple, or independent websites non controlled or tested past Apple, is provided without recommendation or endorsement. Apple assumes no responsibility with regard to the selection, performance, or use of third-political party websites or products. Apple makes no representations regarding third-party website accurateness or reliability. Contact the vendor for additional data.
Published Date:

Source: https://support.apple.com/en-us/HT202658
Posted by: linthoom1978.blogspot.com
0 Response to "How To Install Easy Touch On Iphone"
Post a Comment